Installing a new bathroom sink involves more than making one plumbing connection. The basin must sit securely, the drain must align with the trap, and the hot and cold lines must stay leak-free. This guide explains how to install a bathroom sink when replacing a similar fixture with existing plumbing in good condition. Always follow the instructions supplied with your particular sink, faucet, and drain.
Check the Sink and Plumbing Before You Start
Confirm whether the sink is a drop-in basin, an undermount model, a vanity-top unit, or a wall-mounted or pedestal sink. Mounting methods differ. An undermount basin needs specified support clips or brackets; a wall-mounted sink needs structural support, not just drywall anchors. Moving supply or waste pipes is a larger plumbing job best handled by a qualified professional.
Measure the opening, faucet-hole spacing, drain position, and cabinet clearance. Check that the sink’s overflow arrangement matches its drain assembly. A dry fit now can prevent awkward connections later.
Tools and Materials
Gather an adjustable wrench, basin wrench if needed, slip-joint pliers, tape measure, level, bucket, towels, and flashlight. You may also need manufacturer-approved silicone sealant or plumber’s putty, mounting hardware, a drain assembly, supply hoses, and trap washers. Use the sealing materials specified for your fixtures.
Step 1: Shut Off Water and Remove the Old Sink
Close both shutoff valves beneath the basin, then open the faucet to release pressure. If a valve leaks or will not close, shut off the main supply and repair it first. Place a bucket below the P-trap and disconnect the supply hoses and drain fittings. Remove mounting hardware, cut any old caulk carefully, and lift the old sink free with help if it is heavy. Keep debris out of the wall drain.
Step 2: Clean the Area and Test the Fit
Remove old sealant without damaging the countertop. Check for swollen cabinet panels, a loose vanity, cracked stone, or damp wall material. Correct these problems before bathroom sink installation. Place the new basin in position without sealant and check that it sits level, has adequate support, and leaves room for the trap. Never force a basin into a tight opening.
Step 3: Fit the Faucet and Drain Assembly
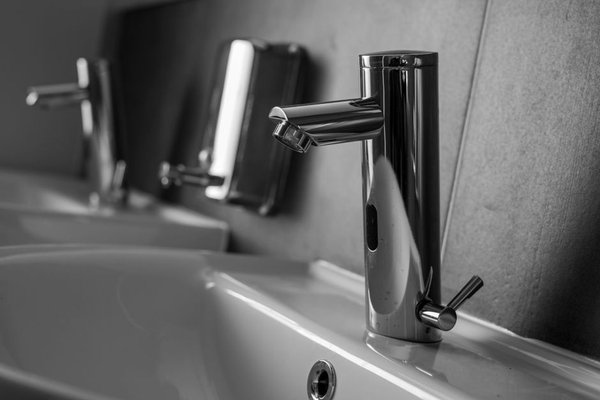
It is often easier to install the faucet before setting the sink. Position its gasket, insert the body through the mounting holes, and secure it as directed. Assemble the drain flange, gaskets, and tailpiece in the prescribed order. Some drains call for plumber’s putty beneath the flange; others require silicone or a supplied gasket. Do not substitute materials without checking, especially with porous or composite sinks.
For a pop-up drain, fit the stopper and linkage as directed and test the movement. When learning to install a sink basin, photograph the mechanism before tightening it; the picture can help if you must adjust the linkage later.
Step 4: Position and Secure the Basin
Apply any specified sealant, lower the basin into place, and align it. Use the manufacturer’s clips, anchors, or brackets instead of expecting caulk to support the weight. Tighten evenly and only as directed; overtightening may crack porcelain or damage a countertop. A pedestal sink must be secured to its supported wall mounting according to its installation guide.
Step 5: Connect the Drain and P-Trap
Fit the tailpiece into the P-trap and connect the trap to the wall drain with the correct slip nuts and tapered washers. The trap should line up naturally without pulling sideways on the sink drain. If the new basin sits at a different height, use compatible rigid trap components rather than a flexible corrugated drain, which can collect debris and may violate local plumbing requirements.
Seat the washers correctly and hand-tighten the nuts before any permitted final adjustment. Gasketed slip joints normally do not need thread-sealing tape. If the drain cannot align without changing fixed pipework, seek professional advice.
Step 6: Connect Hot and Cold Supply Lines
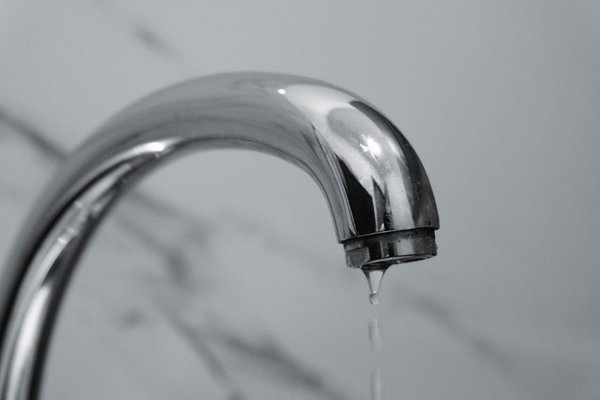
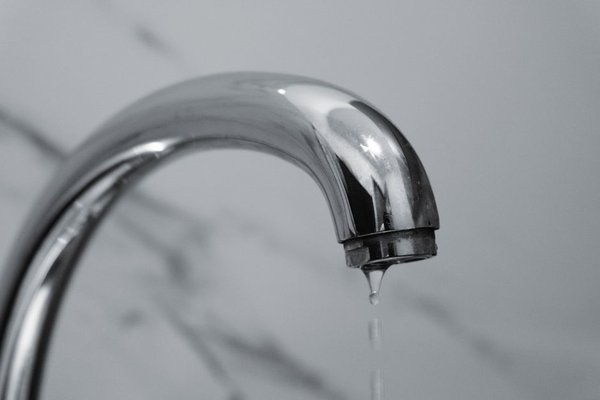
Connect each faucet inlet to its corresponding shutoff valve using appropriately sized, undamaged hoses. Avoid twists, sharp bends, and stretched lines. Start nuts by hand so the threads engage straight, then tighten according to instructions. Compression and gasket-sealed fittings generally do not need plumber’s tape. For a related repair, see the guide topic fixing a dripping bathroom faucet.
Step 7: Restore Water and Test for Leaks
Wipe every fitting dry and slowly open the shutoff valves. Check the supply connections with a tissue or dry towel. Run hot and cold water, fill the basin partway, and release the stopper to send a larger volume through the drain. Inspect the drain flange, tailpiece, pop-up pivot seal if fitted, P-trap, and wall connection. Repeat after several minutes to catch slow drips.
For example, a trap may stay dry during a gentle trickle yet leak when a full basin empties. That makes a fill-and-drain test essential. If a fitting leaks, isolate the water as appropriate, inspect its gasket and alignment, and reseat it rather than overtightening. Seal any required sink-to-wall joint and respect the caulk’s curing time.
Common Problems After Installation
A slow drain may indicate a misadjusted pop-up stopper, debris in the trap, or an existing blockage. The related guide topic how to unclog a bathroom sink covers drainage separately. A rocking basin suggests insufficient support or an uneven surface, not too little caulk. If water appears at the cabinet floor, trace it upward along the pipes to locate the actual leak.
Frequently Asked Questions
Can I replace a bathroom sink without replacing the faucet?
Usually, if the existing faucet fits the new basin’s holes, remains in good condition, and can be removed safely. Replace worn gaskets or supply hoses where needed.
How long does bathroom sink installation take?
A straightforward replacement with accessible fittings may take a few hours. Corroded nuts, damaged cabinetry, a different mounting style, or plumbing changes can extend the job. Allow time for leak testing.
Do I need plumber’s putty around the sink drain?
Not always. Some drains use a supplied sealing gasket; others specify putty or silicone. Follow the drain and sink manufacturers’ instructions, particularly with materials that could stain.
When should I call a plumber?
Get help when shutoff valves fail, pipes need relocating, leaks persist, the trap cannot align, or mounting support is uncertain. Check local requirements before modifying concealed plumbing.
Final Check Before Regular Use
Knowing how to install a bathroom sink means treating mounting, sealing, and testing as one process. Confirm that the basin is firm, the stopper operates smoothly, both supply lines remain dry, and the drain survives a full-basin test. Recheck the cabinet later that day and after regular use. Catching a small drip early can prevent a costly water-damaged vanity.