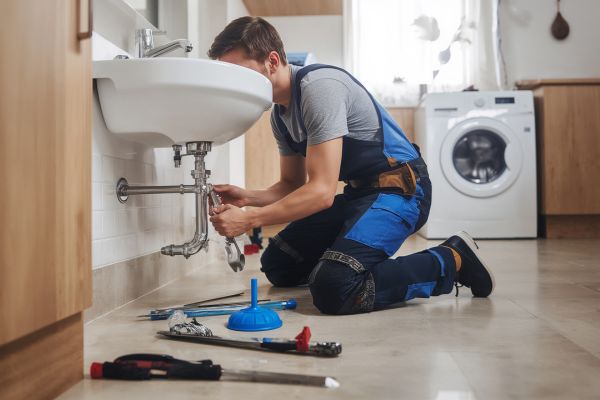
There’s something really satisfying about tackling a bathroom project on your own. And let’s be real—shower plumbing can look intimidating. Pipes, valves, seals… it all seems like the kind of job you’d immediately call a plumber for. But with the right know-how, patience, and a little confidence, DIY shower plumbing installation is completely doable. Not only does it save you money, but it also gives you bragging rights every time you turn that shiny handle and watch the water flow.
In this guide, we’re going to break it down step by step. Think of it less like a technical manual and more like a conversation with a friend who’s been there, messed up once or twice, and finally figured out how to make it work.
Why Choose DIY Shower Plumbing Installation?
Here’s the thing: hiring a plumber isn’t cheap. Depending on where you live, the labor alone can run hundreds of dollars. By learning how to handle a DIY shower plumbing installation, you’re not only saving your wallet but also building a skill set you can use again and again.
Plus, there’s this hidden joy in knowing how your home works. You stop being the person who panics at a dripping faucet and instead become the one who says, “Don’t worry, I’ve got this.” That kind of confidence? Worth its weight in gold.
Preparing Before You Start
Before you even think about pulling out tools, prep is everything. First, shut off the main water supply. Trust me, you don’t want to be that person ankle-deep in water because you forgot this step.
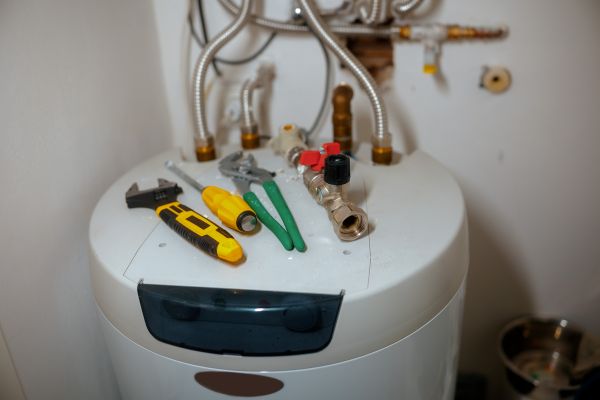
Next, gather your tools and materials. For most DIY shower plumbing installations, you’ll need a pipe wrench, adjustable pliers, Teflon tape, a shower valve kit, pipes (either copper, PEX, or PVC depending on your setup), and maybe a soldering kit if you’re working with copper. It’s better to have everything ready than to run back and forth to the hardware store mid-project.
Understanding the Basics of Shower Plumbing
Okay, let’s simplify this. A shower system has three main parts:
- The water supply lines – hot and cold pipes feeding into your shower.
- The mixing valve – where hot and cold water meet to give you the perfect temperature.
- The showerhead and fixtures – what you actually see and use.
The magic happens at the valve. That’s the heart of your shower, and getting it right is the difference between a spa-like experience and a frustrating trickle.
Installing the Shower Valve
Start by locating the area where the valve will go. Most valves sit about 48 inches from the floor, but hey, this is your shower—adjust if you’re taller, shorter, or just have personal preferences.
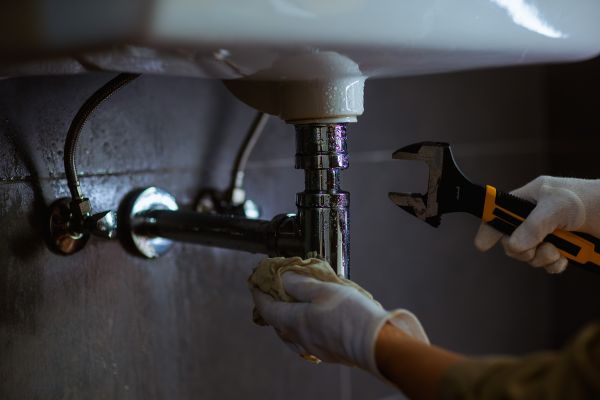
Cut into your wall and position the valve so it’s centered. Connect your hot water line to the left side and cold to the right (yes, that’s standard, so stick with it). Use Teflon tape on threaded connections to prevent leaks. If you’re working with copper, this is where soldering might come in. For PEX, you’ll use crimp or push-fit fittings, which are way easier for beginners.
Once it’s all snug, double-check everything before closing up the wall. A quick test run here will save you from tearing into drywall later.
Setting Up the Showerhead and Arm
The shower arm is that curved piece of pipe that connects the water supply to your showerhead. Screw it into the wall fitting, again using Teflon tape for a watertight seal. Then attach your showerhead.
Sounds simple, right? It usually is. The only real hiccup people hit is cross-threading—forcing the pieces together at the wrong angle. If it feels stuck, don’t muscle it. Back it out, realign, and try again.
Testing for Leaks
This step is where you’ll hold your breath a little. Turn the main water supply back on and slowly open the valve. Watch carefully around every joint and connection. If you see even the tiniest drip, stop. Tighten the fitting or reapply Teflon tape as needed.
The truth is, leaks are part of the learning curve. Don’t get discouraged if you spot one. Fixing it now is just part of doing the job right.
Common Mistakes to Avoid
One of the biggest rookie mistakes in DIY shower plumbing installation is rushing. Plumbing isn’t something you can speed through. Another common slip-up? Forgetting to support your pipes inside the wall. If they rattle when water flows, you’ll be annoyed every single time you shower.
Also, don’t skimp on quality parts. Bargain-bin valves and fixtures might save you a few bucks today, but when they fail in a year, you’ll wish you’d gone for better ones.
Adding Your Personal Touch
Here’s the fun part. Once the plumbing is set, you get to pick out the showerhead and fixtures that match your style. Rainfall head for that luxury vibe? Go for it. Handheld shower for practical use? Smart move. The actual installation stays the same, but the feel of your bathroom totally changes depending on what you choose.
When to Call a Pro
Let’s be honest, not everything goes as planned. If you find yourself dealing with unusually low water pressure, tricky pipe layouts, or if you open the wall and it looks like spaghetti in there, it might be worth calling in a professional. There’s no shame in getting help—it just means your bathroom ends up working perfectly.
Final Thoughts
Tackling a DIY shower plumbing installation isn’t about perfection. It’s about learning, gaining confidence, and having the satisfaction of saying, “Yeah, I did that.” Sure, there might be a few hiccups along the way, but that’s part of the process.
So next time you step into your shower and feel that steady stream of water, remember—it’s not just plumbing. It’s proof that you rolled up your sleeves, got your hands dirty, and built something in your home that will last for years. And honestly, that’s a win worth celebrating.