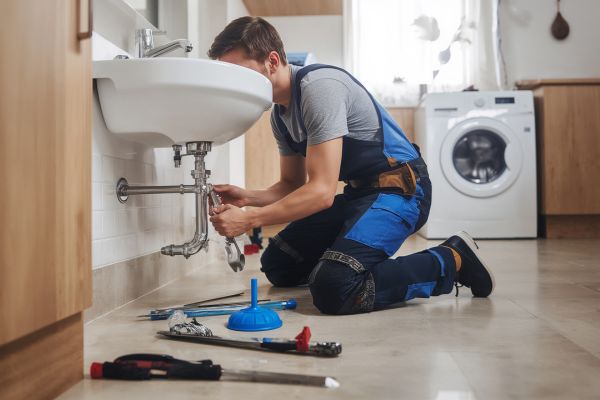
Replacing a toilet flange isn’t one of those glamorous home projects people brag about at dinner parties. Still, it’s one of those repairs that quietly makes or breaks a bathroom. When a toilet rocks, leaks at the base, or starts releasing unpleasant sewer odors, the flange is often the unseen culprit. Learning how to replace a toilet flange can feel intimidating at first, but it’s surprisingly manageable with patience, attention to detail, and a realistic understanding of what’s involved.
This guide walks through the process in a clear, experience-driven way. No sales pitch, no shortcuts—just a practical look at what actually happens when you take on this repair.
Understanding What a Toilet Flange Really Does
The toilet flange is the connector between your toilet and the drainpipe in the floor. It anchors the toilet securely while also creating a sealed pathway for waste to move into the plumbing system. When the flange cracks, corrodes, sits too low, or pulls away from the floor, the toilet loses stability and the wax seal underneath fails.
Many homeowners mistake flange problems for toilet issues. They replace wax rings repeatedly, tighten bolts harder than they should, or even blame the toilet itself. In reality, the flange is often the quiet troublemaker hiding under the porcelain.
Knowing When Replacement Is Necessary
Not every flange problem requires a full replacement, but some signs shouldn’t be ignored. A toilet that rocks no matter how carefully it’s tightened, persistent leaks around the base, or visible damage when the toilet is removed are all strong indicators. Older homes, especially those with cast iron or metal flanges, are particularly prone to corrosion over time.
If the flange is broken, severely rusted, or sitting below floor level after a remodel, replacement is usually the only lasting solution. Patching these issues tends to buy time, not peace of mind.
Preparing the Bathroom Before You Start
Replacing a flange starts long before you touch the old one. Turning off the water supply and draining the toilet completely is essential. Any remaining water in the bowl or tank needs to be removed to avoid spills and unpleasant surprises. Once the toilet is disconnected and lifted away, the flange becomes fully visible.
This moment often reveals more than expected. Old wax residue, damaged flooring, or uneven subflooring can all appear once the toilet is gone. Taking a few minutes to assess the area honestly can save frustration later.
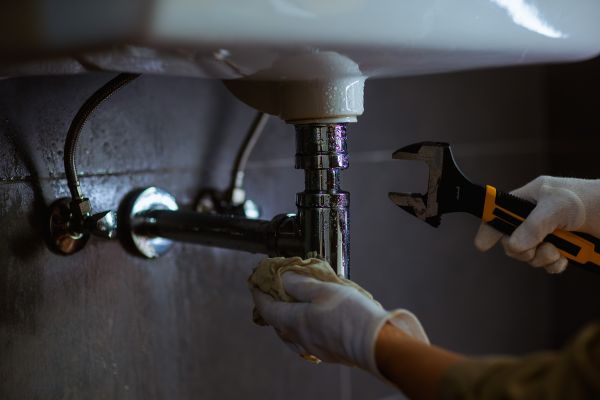
Removing the Old Toilet Flange Without Creating New Problems
Removing an old flange can range from simple to stubborn, depending on the material and how it was installed. PVC flanges are usually straightforward, while cast iron flanges can put up a fight after decades in place. The key is patience. Rushing here can damage the drainpipe or surrounding floor, turning a repair into a larger renovation.
Carefully clearing away old wax and debris allows you to see how the flange connects to the pipe. Some are screwed into the floor, others glued or fitted into the pipe itself. Understanding that connection before applying force makes all the difference.
Choosing the Right Replacement Flange for Your Floor
Not all toilet flanges are interchangeable, and this is where many first-timers go wrong. The replacement needs to match the pipe size, material, and floor height. A flange that sits too low or too high can cause sealing issues, even if it’s brand new.
Modern repair flanges often offer flexibility, especially for floors that have been tiled over older installations. Selecting one that aligns flush with the finished floor helps ensure the toilet sits level and the wax seal compresses properly.
Installing the New Flange with Long-Term Stability in Mind
Once the old flange is removed and the area is clean, installing the new one becomes a matter of precision rather than strength. The flange should sit flat, centered over the drainpipe, and secured firmly to the subfloor. This step is about stability, not brute force.
Alignment matters more than most people expect. The bolt slots must line up correctly so the toilet bolts sit evenly. A misaligned flange can cause the toilet to twist slightly, leading to leaks that appear weeks or months later.
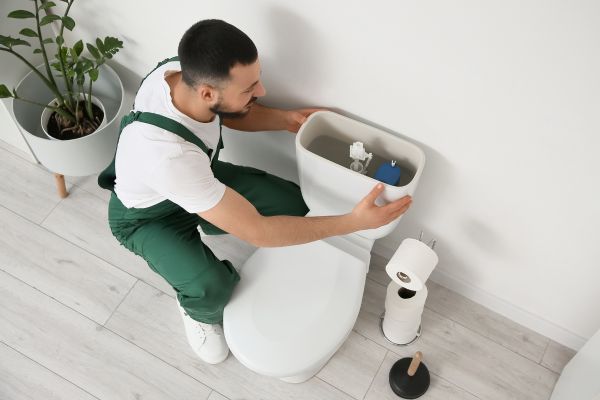
Resetting the Toilet and Creating a Reliable Seal
After the flange is installed, attention turns back to the toilet itself. A fresh wax ring—or a modern alternative seal—creates the barrier between toilet and flange. This seal works once. Once compressed, it shouldn’t be reused or adjusted.
Lowering the toilet onto the flange requires steady hands and patience. It’s a quiet moment where careful placement matters more than speed. When the toilet is seated correctly, it should feel solid without excessive tightening. Over-tightening bolts is a common mistake that can crack porcelain or warp the flange.
Testing the Repair Before Declaring Victory
Before calling the job finished, the toilet needs to be tested thoughtfully. Turning the water back on slowly, flushing multiple times, and checking carefully for leaks around the base are essential steps. A properly replaced flange should eliminate rocking, seepage, and odor issues.
This is also the time to trust your instincts. If something feels off, it probably is. Catching small issues now prevents pulling the toilet again later.
Common Mistakes That Make Flange Repairs Fail
Many flange replacements fail not because of bad tools or materials, but because of small oversights. Ignoring floor damage, choosing the wrong flange height, or rushing the toilet reset can all undermine the repair. Another common error is assuming the subfloor is solid without checking. A flange secured to weak flooring won’t stay stable, no matter how well it’s installed.
Understanding these pitfalls is part of truly learning how to replace a toilet flange, not just following steps mechanically.
When It Makes Sense to Pause and Reassess
There’s no shame in stopping mid-project if something doesn’t look right. Severe pipe damage, extensive rot, or structural floor issues may signal that the job is bigger than expected. In those cases, reassessment is smarter than forcing a solution.
Home repairs are rarely about proving something. They’re about restoring function safely and correctly.
A Practical Conclusion on Replacing a Toilet Flange
Replacing a toilet flange sits at the intersection of plumbing and patience. It’s not flashy, but it’s foundational. Done properly, it restores stability, prevents leaks, and quietly supports the daily routines we rarely think about.
Learning how to replace a toilet flange isn’t just about saving money or avoiding a service call. It’s about understanding how your bathroom works beneath the surface. With care, attention, and a willingness to slow down, this repair becomes less intimidating and more empowering. And once it’s done, it’s one of those fixes you’ll be grateful you handled right the first time.