Installing a toilet might seem like an intimidating task, but with the right approach and a clear understanding of the process, it becomes far more manageable. This toilet installation guide is designed to walk you through each essential step while sharing professional tips to make your bathroom plumbing project a success. Whether you’re replacing an old toilet or installing one in a brand-new bathroom, this guide offers insights that will help you achieve a flawless result.
Understanding the Importance of Proper Toilet Installation
A toilet is one of the most essential fixtures in any home. A poorly installed toilet can lead to leaks, unpleasant odors, and costly water damage over time. That is why a careful, well-executed installation is crucial for both functionality and long-term durability. This toilet installation guide ensures you avoid common mistakes and follow best practices that professional plumbers rely on.
Preparing for Your Toilet Installation Project
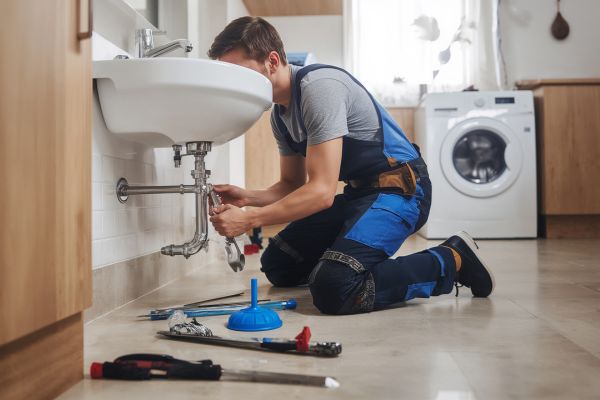
Before beginning the installation, it is vital to prepare your workspace and gather all necessary tools and materials. Ensure that the water supply is turned off and the old toilet is removed properly if you are replacing an existing unit. Clean the flange area thoroughly and inspect it for damage. A strong and level flange provides a solid foundation for the new toilet. If any part of the flange is cracked or corroded, it should be replaced to prevent future issues.
Choosing the Right Toilet for Your Bathroom
Selecting the right toilet plays a significant role in the overall success of the installation. Toilets come in various designs, including one-piece, two-piece, wall-mounted, and comfort-height models. Consider the dimensions of your bathroom, the rough-in measurement, and your preferred flushing technology. A toilet that fits your space perfectly and matches your needs will make the installation process smoother and enhance your bathroom’s functionality.
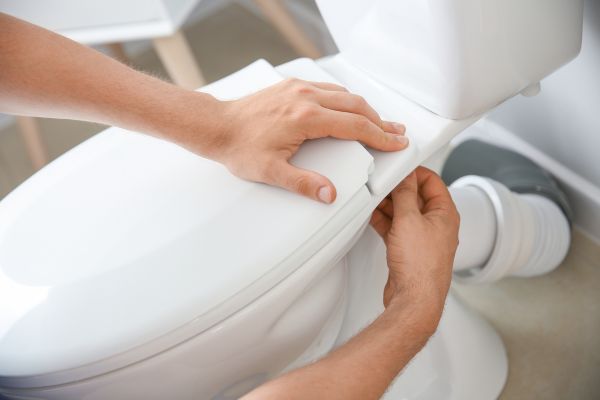
Installing the Wax Ring and Positioning the Toilet
A crucial step in this toilet installation guide is placing the wax ring. The wax ring forms a watertight seal between the toilet and the waste pipe, preventing leaks and odors. Carefully set the wax ring on the flange, ensuring it is centered correctly. When lifting the toilet onto the flange, align the mounting bolts with the holes in the toilet base. Lower the toilet slowly, allowing the wax ring to compress and create a secure seal. Applying even pressure ensures a snug fit without damaging the wax seal.
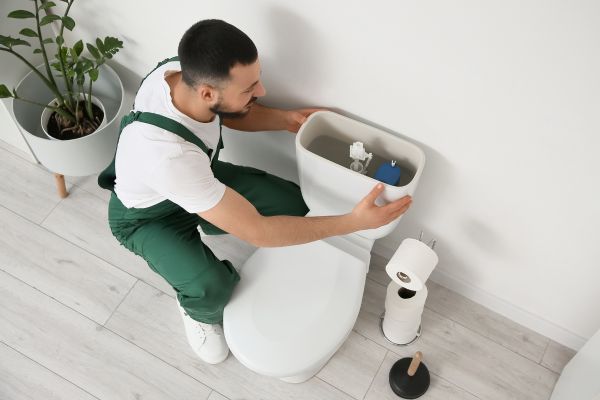
Securing the Toilet and Connecting the Water Supply
Once the toilet is seated correctly, it needs to be secured in place. Tighten the bolts evenly, alternating sides to avoid cracking the porcelain base. Over-tightening can cause serious damage, so proceed with caution. After securing the base, attach the tank if it is a two-piece model. Follow the manufacturer’s instructions for aligning and fastening the tank to avoid leaks between the tank and bowl. Next, reconnect the water supply line to the fill valve and turn on the water gradually to check for any leaks around the base or connections.
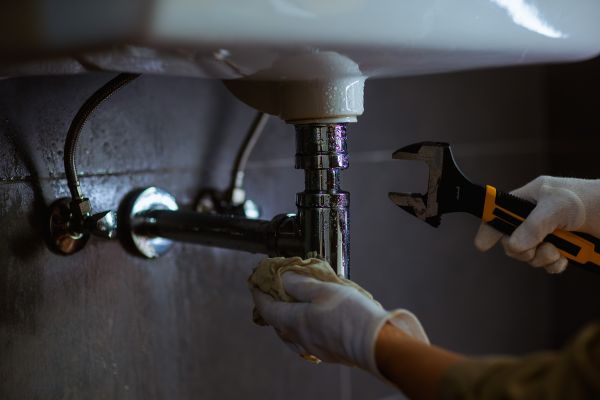
Testing for Leaks and Final Adjustments
When the water supply is restored, allow the tank to fill completely. Flush the toilet several times while inspecting all connections for leaks. Pay close attention to the base and the supply line. If you notice any water pooling or drips, address them immediately to prevent long-term damage. Adjust the toilet’s position slightly if needed to ensure it sits level on the floor. A wobbly toilet can lead to wax seal failure, so use shims if necessary to stabilize the base before caulking around the perimeter.
Enhancing Longevity with Proper Maintenance
After completing the installation, regular maintenance can keep your toilet in top condition. Periodically check for leaks and ensure the bolts remain tight. Avoid using harsh chemical cleaners that can deteriorate the internal components. Simple, consistent care will extend the life of your toilet and prevent costly repairs in the future.
Conclusion: Mastering Toilet Installation for a Worry-Free Bathroom
This toilet installation guide provides a comprehensive overview of the process, empowering you to take on this essential bathroom upgrade with confidence. By following these steps and paying attention to detail, you can achieve a professional-quality result that enhances both the appearance and functionality of your bathroom. With proper preparation, careful installation, and ongoing maintenance, your new toilet will serve your home reliably for years to come.