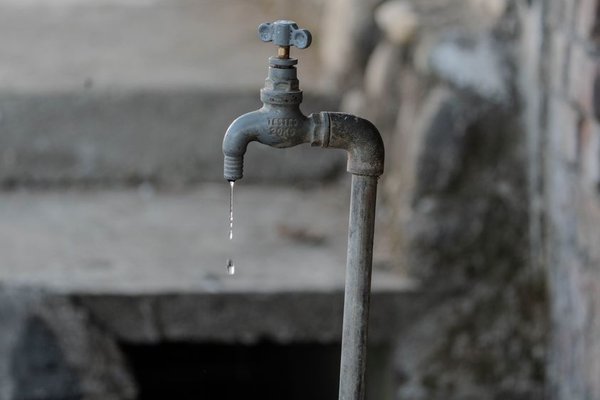
A faucet that drips after the handle is fully closed, feels stiff, or becomes difficult to control often has a worn cartridge inside the valve body. In many kitchen and bathroom faucets, the cartridge regulates water flow and, on single-handle models, the hot-and-cold mix. Replacing it can restore smooth handle movement and stop a persistent cartridge faucet leak without replacing the entire fixture.
The job is usually manageable, but details vary by brand and model. Retaining clips, bonnet nuts, cartridge orientation, and removal tools are not universal. Identify the faucet first, buy the exact replacement cartridge, and keep the manufacturer’s parts diagram or service instructions nearby.
How to Tell Whether the Cartridge Is the Problem
A worn cartridge can cause dripping from the spout when the faucet is off, leaking around the handle, poor temperature control, stiff handle movement, or water that does not shut off cleanly. Similar symptoms can also come from damaged seats, seals, O-rings, or other parts, so confirm where the leak begins before starting a faucet cartridge repair.
For example, a weak stream caused by a clogged aerator will not usually improve after a cartridge change. Water below the sink may come from a supply connection instead of the faucet valve. Dry the area, operate the faucet, and watch where moisture first appears.
Identify the Correct Replacement Cartridge
Matching the cartridge is the most important step. Similar-looking cartridges can have different stems, ports, tabs, or dimensions. Look for the faucet model number on paperwork, packaging, the manufacturer website, or a label beneath the sink. If you cannot find it, use the manufacturer’s product-identification resources or support service.
Do not choose a replacement only by color or general shape. Check the parts diagram for the exact model. If you must remove the old cartridge before identifying it, photograph its installed orientation and retaining hardware first. Those photos make reassembly much easier.
Related repair topics that fit naturally with this job include how to fix a dripping faucet, how to shut off water under a sink, and how to clean a faucet aerator.
Shut Off the Water and Prepare the Faucet
Close both hot and cold shutoff valves beneath the sink. If they do not stop the flow, shut off the appropriate upstream or main water supply. Open the faucet afterward to relieve pressure and confirm that the water is actually off.
Cover the drain so small screws cannot fall into it, and place a towel in the basin. Common tools include an Allen key or screwdriver for the handle, pliers or a wrench for a retaining nut, and sometimes a manufacturer-specific cartridge puller or twisting tool.
Remove the Handle and Retaining Hardware
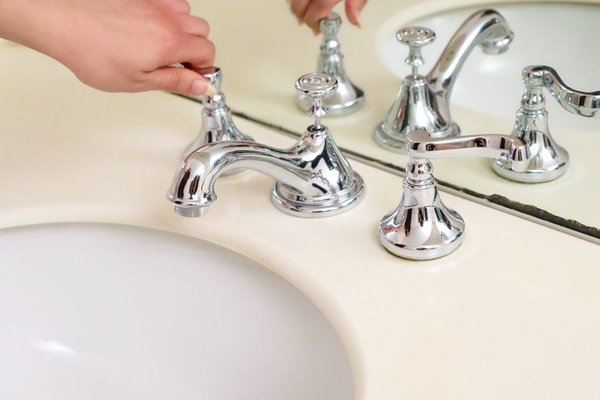
Most handles are secured by a visible screw, a screw beneath a decorative cap, or a small set screw on the side or rear. Remove the fastener and lift off the handle. Some faucets also have a dome, sleeve, or trim piece covering the cartridge retainer.
Next, identify what holds the cartridge in place. Many faucets use a threaded bonnet or retaining nut; others use a metal retaining clip. Remove only the hardware shown for your model. If mineral buildup has seized a part, work patiently rather than applying force that could damage the valve body.
Faucet Cartridge Removal
Before pulling the old cartridge, note its orientation. Incorrect installation can reverse hot and cold operation, change handle travel, or prevent the retaining clip from fitting. Take another photo if the alignment is not obvious.
Pull the cartridge straight out when the design allows it. If it is stuck, use the removal tool recommended for that cartridge rather than prying against the faucet body. Some designs are meant to be rotated slightly with a special tool before removal.
Here is a useful real-world rule: if the stem moves but the cartridge body will not come out, do not keep yanking harder with pliers. Stop and confirm whether the model uses a twisting tool or cartridge puller. The correct tool can free the cartridge without damaging the stem or valve.
Clean the Valve Body and Install the New Cartridge
With the water still shut off, inspect the valve body for loose debris, mineral deposits, or fragments of old seals. Wipe accessible surfaces carefully without scratching the sealing area. If the manufacturer recommends flushing the valve, follow its model-specific procedure.
Insert the new cartridge in the required orientation. Tabs, ribs, grooves, or locating notches usually show how it should seat. It should go fully into position without forcing the clip or retaining nut. If the retainer will not reinstall normally, the cartridge may be misaligned or not fully seated.
Use lubricant only when the manufacturer recommends it. Silicone-based plumbing grease is commonly compatible with faucet seals, while petroleum-based products can damage some rubber components.
Reassemble and Test
Reinstall the retaining hardware, trim, and handle in reverse order. Tighten parts securely without overtightening plastic components or decorative fittings.
With the handle off, slowly reopen the hot and cold shutoff valves. Watch the handle area for leaks, then operate the faucet through its full range. Check shutoff, flow, smooth movement, and hot-cold direction. If it still drips, turn the water off and verify that the cartridge is correct, fully seated, and properly oriented.
Common Problems After Replacement
Hot and cold are reversed
The cartridge or stem may be installed in the wrong orientation. Compare it with the manufacturer’s diagram before changing anything else.
The retaining clip will not go back in
Do not hammer or force it. This usually means the cartridge is not fully inserted or its alignment features are not positioned correctly.
The faucet still leaks
Recheck the leak source. The cartridge may be wrong, debris may be interfering with the seal, or another part such as a seat, spring, O-ring, or valve-body surface may be responsible.
Frequently Asked Questions
How long does faucet cartridge replacement take?
With the correct part and no seized components, many repairs can be completed in less than an hour. A stuck cartridge or unidentified faucet can add significant time.
Can I replace a faucet cartridge without shutting off the water?
No. Shut off both supplies before exposing or removing the cartridge. A pressurized valve can release water forcefully and cause damage.
Do all faucets use cartridges?
No. Faucet designs vary. Some use cartridges, while others use compression stems, ceramic-disc assemblies, ball mechanisms, or other valve systems.
Should I replace the cartridge or the whole faucet?
If the faucet body is sound and the correct cartridge is available, cartridge replacement is usually the targeted repair. Replacing the fixture makes more sense when the body is damaged, badly corroded, obsolete, or suffering several unrelated failures.
Finish the Repair Carefully
A reliable faucet cartridge replacement depends on correct identification and careful reassembly. Shut off the water, document the original orientation, remove the correct retainer, use a model-specific tool when needed, and seat the new cartridge exactly as designed. Done carefully, this common repair can restore normal operation without replacing the entire faucet.