When it comes to annoying household problems, fixing leaky faucets in bathrooms is one of those chores people keep putting off. Let’s be real for a second: that tiny drip might not seem like a big deal, but it can drive you up the wall at night, waste gallons of water, and even bump up your utility bill without you noticing. The good news? Most leaks don’t require calling a plumber right away. With a little guidance, a few tools, and some patience, you can usually handle the job yourself. So, let’s dig into what causes those pesky leaks, how to fix them properly, and what you can do to keep your faucet running smoothly long-term.
Understanding Why Bathroom Faucets Start Leaking
Before fixing leaky faucets in bathrooms, it helps to know what’s going on behind the scenes. Faucets might look simple from the outside, but inside, they’re full of small parts that keep water flowing only when you want it to. Over time, some of these parts wear down. Rubber seals get stiff, cartridges crack, mineral deposits build up, or the handle just stops cooperating the way it should.
And you know how it goes—when one tiny component fails, the whole thing starts acting up.
The thing is, bathroom faucets are used constantly. Every hand wash, every time someone brushes their teeth, every little rinse contributes to normal wear and tear. Eventually, something gives. Understanding this helps you approach repairs with a bit more confidence because you’re not just “messing with plumbing.” You’re solving a mechanical issue that has a pretty straightforward cause.
Spotting the Signs of a Leaky Faucet
Sometimes leaks are obvious. Water drips nonstop from the spout or you hear that signature “plink… plink… plink” in the sink bowl. Other times, you might spot water pooling around the base, dripping under the sink, or even staining fixtures.
A leak doesn’t always mean disaster. It might just be a loose part inside the handle. But ignoring it can make the issue worse. That’s why fixing leaky faucets in bathrooms sooner rather than later is always a smart move.
When you inspect your faucet, pay attention to where the moisture is coming from. Drips from the spout usually point to worn-out internal washers or cartridges. Leaks around the base often indicate O-ring problems. Water under the sink may suggest a supply line or connection issue instead of the faucet itself.
Preparing to Fix the Leak
Before you roll up your sleeves, you’ll want to get a few essentials ready. Don’t worry, nothing too complicated. A screwdriver, an adjustable wrench, maybe a pair of pliers. If you’re dealing with mineral buildup, keeping white vinegar on hand can help clean out stubborn deposits.
And here’s a small but crucial step: turn off the water supply. You’d be surprised how many people forget this part. You know what happens next—the moment they loosen a part, water sprays everywhere. Save yourself the chaos.
Once the water is off, open the faucet to release any leftover pressure. This helps you work with ease and prevents accidental splashing when you start taking things apart.
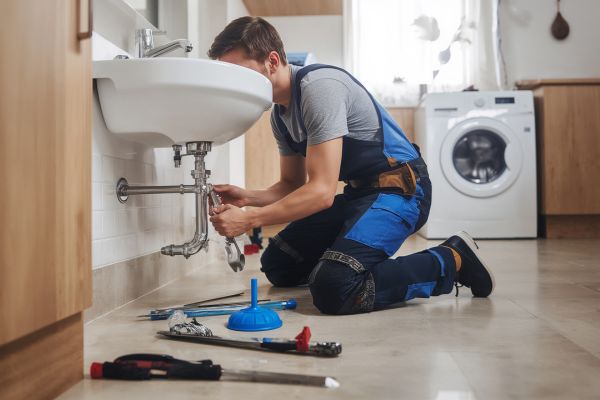
Opening the Faucet and Checking the Components
Now comes the part that feels a bit more hands-on. Removing the handle is usually the first step. Depending on your faucet style, you might find a small cap hiding the screw. Pop it off, unscrew the handle, and you’ll see the inner components.
Take your time here. There’s no rush. Carefully inspect each piece—cartridges, washers, O-rings, and any rubber seals. If they look worn out, cracked, or stiff, that’s probably your culprit.
The beauty of fixing leaky faucets in bathrooms is that replacement parts are inexpensive and widely available. Most hardware stores carry a variety of faucet repair kits, often with universal pieces that fit multiple brands. If you’re unsure which parts you need, just bring the old ones with you to compare.
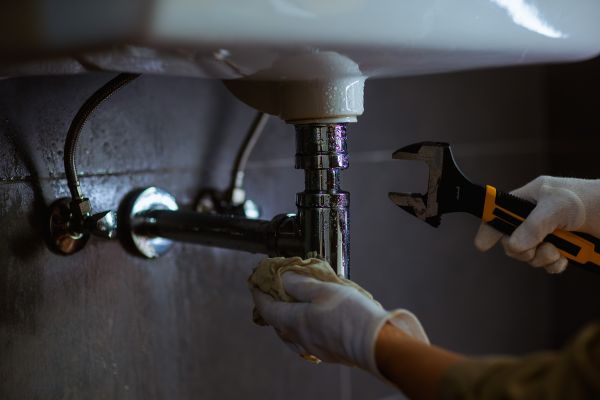
Cleaning and Reassembling the Faucet
While your faucet is open, it’s a good idea to clean the internal chambers. Mineral buildup from hard water can clog or corrode components. A little white vinegar can loosen residue, making everything work smoother once you reassemble.
If any parts look beyond repair, swap them out with new ones. Make sure everything fits snugly without forcing anything into place.
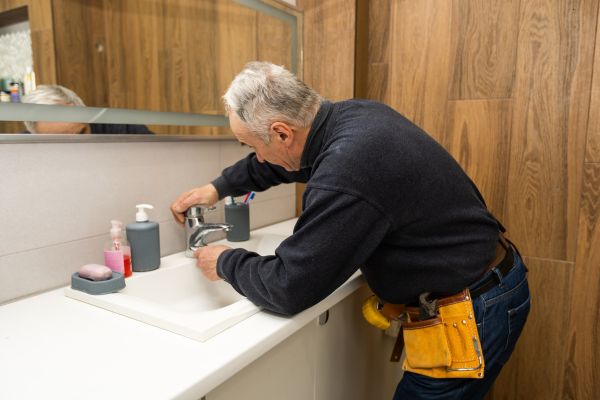
Reassembly is basically the reverse of taking it apart. Put each piece back exactly where it came from. Tighten the screws gently—you don’t want to crack anything. Then restore the water supply and test the faucet.
This moment always feels a bit suspenseful… but if the drip is gone, congratulations—you’ve just succeeded in fixing leaky faucets in bathrooms like a pro.
When a Leak Needs More Than a DIY Fix
Sometimes, no matter how carefully you work, the faucet still leaks. Maybe the valve seat is worn out, or the faucet is simply too old. In those cases, replacing the entire faucet might be a better long-term solution. It may sound extreme, but modern faucets are more efficient and durable, and swapping one out is often easier than dealing with ongoing repairs.
On the other hand, if you’re facing leaks deeper in the plumbing system—like under the sink, inside the wall, or from damaged supply lines—it’s best to call a licensed plumber. There’s no shame in getting help when the problem goes beyond what a wrench and some silicone grease can fix.
Preventing Future Faucet Leaks
Once you’ve gone through the trouble of fixing a leak, you’ll probably want to avoid doing it again anytime soon. Fortunately, regular maintenance goes a long way. Wipe down your faucet to prevent mineral deposits from building up. Avoid forcing the handles too hard when turning the water on or off.
And every few months, give the joints and seals a quick check. A few minutes of casual inspection can keep everything running smoothly and prevent future headaches.
One thing people often overlook is the water pressure in their home. If the pressure is too high, it can stress faucet components and cause leaks sooner. A simple pressure regulator can help protect your plumbing system and make faucets last longer.
Final Thoughts on Fixing Leaky Faucets in Bathrooms
At the end of the day, fixing leaky faucets in bathrooms isn’t rocket science. It’s more about patience than skill. The process involves understanding the faucet’s inner workings, spotting the real cause of the drip, and replacing or cleaning the right components. And honestly, there’s something satisfying about hearing… well, nothing when the drip finally stops.
Whether you’re handling a quick washer replacement or giving your whole faucet a fresh start, taking care of the problem sooner saves water, money, and a whole lot of irritation. So next time that familiar dripping sound starts up, you’ll know exactly what to do—and you might even feel confident enough to show someone else how to fix theirs too.